
How to remove the background from an image is a question that everyone has asked themselves at least once in their lives because we simply do not have the knowledge on complicated software professionals in the field of design do. We don’t know how to do it and we can’t get the visual right. Maybe we are making a poster on which we need to put the logo of our project, association, or company, but we are bothered by that frustrating white background, so the logo looks like a white cube. And hiring someone just to do this is too much of a hassle.
So, in this article, we decided to explain how to do it in a simple way and suggest a couple of tools anyone can utilize.
But first, let’s take a look at all the reasons why someone may need to do this in the first place.
Why would you even remove the background from the image except for the logo?
Have you ever seen a visual where there is a person on it and the background is a solid color? Do you think that person stood right in front of an orange canvas that was perfectly ironed and lit in a way that not a single wrinkle was visible, not a single glare either, and it formed a perfect background?
Of course not, in post-production, the background was removed and the desired one was put in to get that effect. In practice, photographers mostly use a green screen, which is a canvas that is green in color. The green color is chosen because it has the least chance to reflect on the subject being photographed, considering that the process of removing the background, explained in simple words, looks like this:
– the person doing the processing commands the program to select all the green in the image
– then commands to remove all the green color that was selected
In this very simple way, we managed to remove the background from the image and can put the desired background on the image. This is not only used in photography, but also in the shooting of many movies with action scenes.
What if you don’t work in the film industry? Then you may just want to make your photos a bit more fun by adding some super cool background to them. Maybe you want to make it look like you’ve been traveling somewhere. Whatever the reason behind your need to remove it, there are simple tools like Adobe Express that can help you do this, and polish the photo even further in a way to make it super convincing.
How do you remove it then?
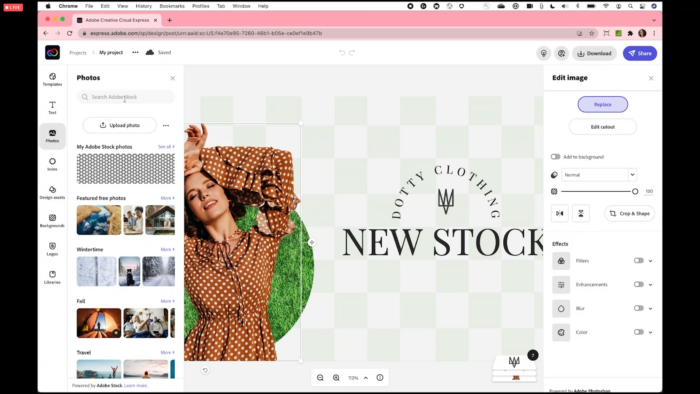
Now let’s get to the main part of this article, which is how to actually remove the background. There are a lot of online tools that are websites where you just upload an image and get the final result. If you do not wish to install the program we suggested earlier in the text.
They make the whole thing quite simple, just open the page and click on upload image.
Then the image will be loaded and the web app will then do its job and remove the background. Some may require you to select the area you want to remove, some will recognize the background automatically. When you compare this to more demanding programs like Photoshop, a lot fewer skills are required.
These tools removed it in literally three seconds.

Once it is removed, how do you put the custom one on the photo?
The easiest thing to do is put a background of your choice by using some of the quick and easy, also free online tools for creating visuals.
In these, you can literally make a picture of whatever dimensions suit you, put the backgrounds you want, photos over them, texts, and everything else. Moreover, the quality will remain very decent. Here are the steps required to do this:
– Step 1 – selection of custom dimensions
In the first step, you will choose custom dimensions for your visual, for example, 500×500 pixels, which makes a square photo suitable for posting on social media.
– Step 2 – Choose a background
After the template has opened, you will select, in this case, the background color. You will then click on the color palette and choose the color that suits you best.
– Step 3 – upload the image
After two previous steps click to Upload an image or video, and just drag it over the background. When everything feels right, save it in the desired format.
Whether you’re an expert or a beginner, most of you want to edit a photo before uploading it to a social network or website. Many people wonder how to choose the right software to complement their skills. There are countless programs for this purpose, the most popular of which is definitely Photoshop.
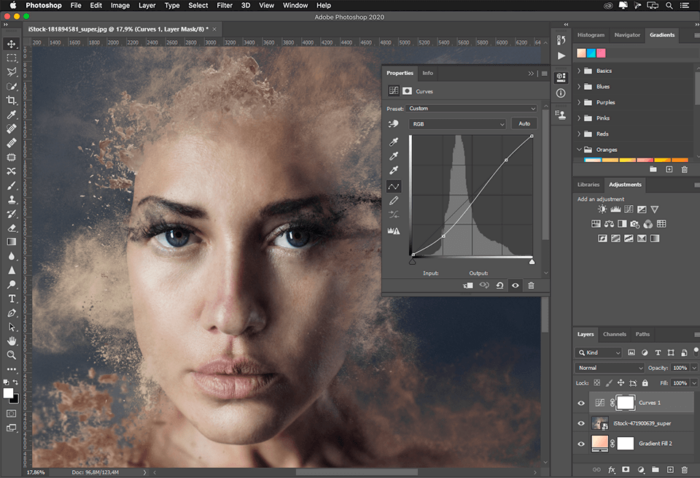
We also have lesser-known free programs that are quite sufficient for some simple photo manipulations. The best photo editing software can help focus an image, highlight key subjects, and turn an average image into something everyone will admire.
These programs allow you to do everything from minor changes to color or saturation to applying filters and removing blemishes or major transformations.
There are numerous software solutions for digital image editing. In addition to commercial solutions that, as a rule, have more powerful tools, quite solid free alternatives can be found on the Internet.
But, given the fact that mobile technology today offers excellent digital media management capabilities, you can not only take high-quality, high-resolution photos with your cell phone, but you can also edit them directly. And this includes removing backgrounds. Advanced photo editing used to require knowledge of computer programs, but luckily, you don’t have to be a professional to edit your images anymore.
The post How to Get Rid of the Background of a Picture Without Losing Quality appeared first on FotoLog.
from FotoLog https://ift.tt/VDLSTGF
via IFTTT


0 Comments