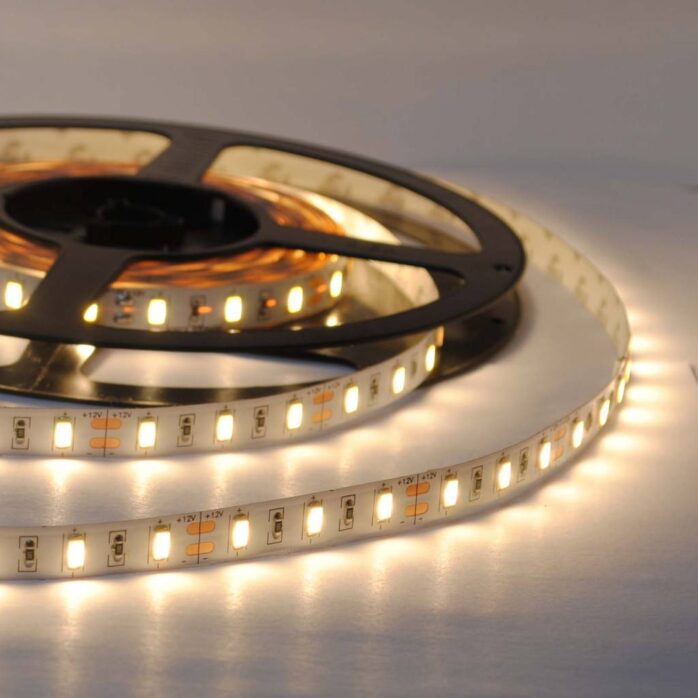
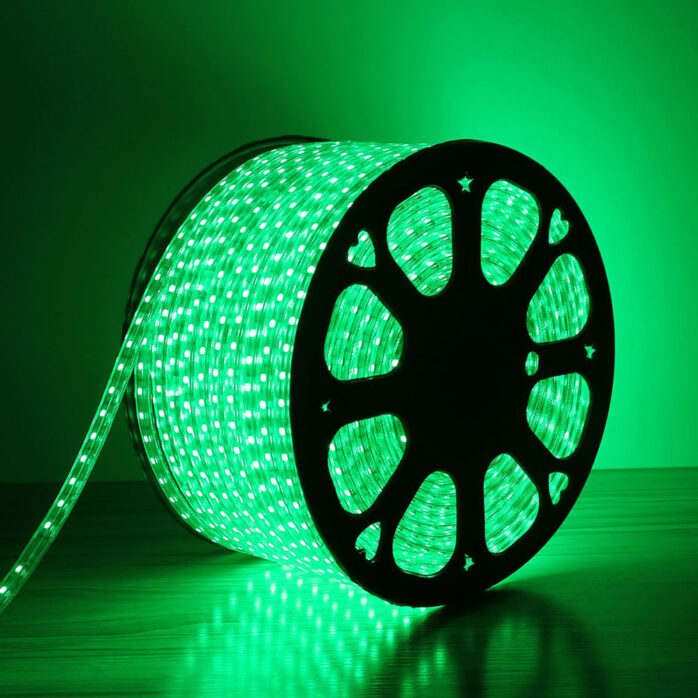
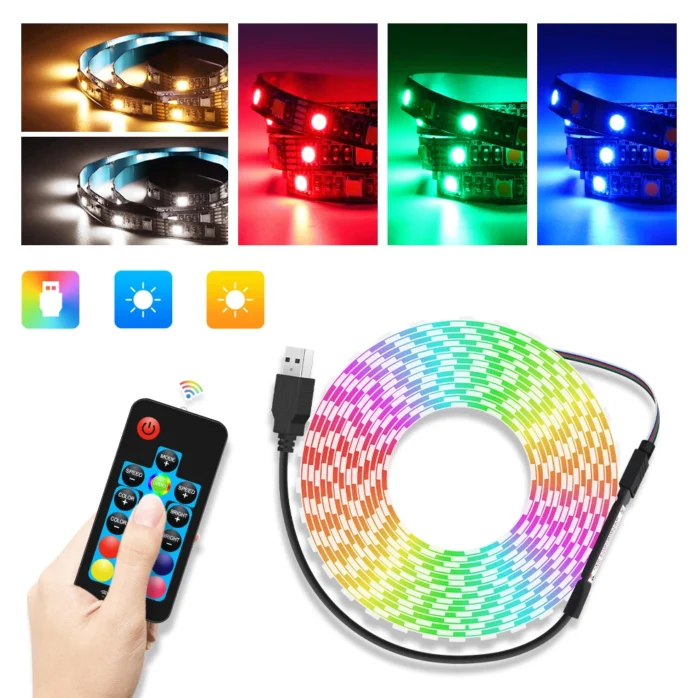
It is a combination of the affordability, the availability, and the specific type of lighting of Led strips that puts them in the forefront when the choice of particular illumination is in question. One can either use a light strip to enhance an indoor or an external setting, still, people often make characteristic mistakes during the installation process, which results in failing to utilize the provided potential to the fullest. Especially for that reason, we have prepared a list of the most common led strip installation mistakes and several useful tips and tricks on how to avoid them. Therefore, make sure you pay attention to the details and apply the suggestions from the lines below.

1. Wiring Type
In a nutshell, there are two basic types of wiring you can apply to your new lighting setting since a led strip must be connected to a power source in order to deliver as expected. Therefore, you can either connect a LED strip to a source of energy using either solid or stranded wiring.
Even though your led strip would function seemingly flawless if you would use a solid variant, it would actually spend more energy and produce additional heat, causing your setting not to function optimally. On the other hand, stranded wiring would potentiate your LED strips to deliver the expected results with optimal energy consumption, without unnecessary overheating the construction.
2. Check Your Gear
What you do not want to use when installing LED strips are worn-out, frayed wires, moreover, you would want to inspect the conduction strands before attaching them. Surely, you should not experience any difficulties if you use brand-new materials, yet, there are no reasons to avoid using already used wires if their condition is satisfactory.
Therefore, make sure you check the cables before you start your venture since frayed wires can cause additional heating and waste more energy than the LED strips would use if the wiring were in optimal condition.

3. Convert the Power
Another important thing we should emphasize is that a LED strip cannot function without a matching converter. Furthermore, its purpose is to supply the strips with power, and you should know that a specific converter has its limitations.
Unfortunately, a significant number of DIY enthusiasts learn about this only after they start with the installation, so they must make an extra effort in order to correct the mistake. Therefore, make sure you determine how powerful a convertor you should purchase before you start connecting the LED strips since failing to find the right match could potentiate additional delays and frustrations you can easily avoid.
Every single strip asks for a specific amount of power, so it is your job to determine the wattage your construction requires to perform. As for the converters, nowadays, you can buy devices capable of handling as much as 60 watts, so do your homework and assess your options before you start the installation. Fortunately, converters can be bought at the same place as the LED strips, regardless of whether you prefer buying online in stores such as ledmegastore, or you would rather do the shopping the old-fashioned way.
4. Method of Application
When it comes to the physical design of a standard LED strip, we should underline it is enhanced with an adhesive layer ideal for effortless application. While the self-adhesive solution seems to be perfect for certain applications, more complicated light settings require additional reinforcements in order to maintain fixed.
In a nutshell, the more complicated the light setting, the chances you will need additional means of strengthening grow. Therefore, assess your options thoroughly and determine whether the setting you have in mind asks for support since making amends on the go would potentiate time-consuming processes you would want to avoid. On the other hand, the last thing you would want to experience is your setting to crash soon after you finish, thus, we advise you to invest in mounting clips. They are nothing more than cheap and simple gadgets in charge of holding the light strips the way you position them and will do an incomparably better job than the default adhesive.

5. Color Choosing
Since we suppose you do not intend on installing LED strip lighting on a daily basis, we strongly advise you to think over which colors should you choose. The most standard lighting color people choose is white, but you can also pick other versions in order to match them with your design. Thus, RGB and its variations are what you should pick from.
Now, the issue with the color selection is that different chips emit different colors, and consequently, offer better or worse results. For example, an RGB chip will deliver both the basic colors and their variations, while RGBW will do as the aforementioned with the addition of white.
Now, some led strips use separate RGB and white chips, which deliver smoother colors, while more common variations are specific for being endowed with RGBW chips known not for the quality, but for the cheaper price and the results that match their value. Thus, make sure you determine which variation will deliver exactly what you expect since it would be both time-consuming and financially exhausting to do the whole thing over again upon realizing you could have done the whole thing much better only if you decided to spend a few bucks more in the first place.
Hopefully, the aforementioned pieces of suggestions will help you master the installation process and secure you always achieve the lighting effect you aim for. We all know how amazing an adequately installed led strip lighting composition can appear, yet, a vast majority of DIY practitioners fail to get the effect they are after in the first place. Fortunately, you can easily avoid dissatisfaction by applying the tips and tricks from the lines above. Therefore, do your homework and follow the steps we have drawn your attention to in order not to make the most common mistakes people do while trying to enhance their space with LED strips.
The post 5 Most Common LED Strip Installation Mistakes & How to Avoid Them appeared first on FotoLog.
from FotoLog https://ift.tt/3yrdavZ
via IFTTT


0 Comments