
Building models is a delightful way to create something with your hands, spend time away from screens, and exercise your creative brain. If you’ve just started building models, you might have seen some pretty incredible light-up models. How do you add lights to your model without ruining it?
Well, there are several ways to add lights to plastic models. However, it’s easiest for beginning designers to stick to battery-powered LED lights, like those offered through retailers like Evan Designs. After all, you don’t want to be messing around with electronic circuitry or the pain of plug-in lights. Here is your guide to installing LED lights inside your plastic models.
LED lighting in plastic models
LED lighting is the easiest way to add lighting to plastic models. This guide will take you through the steps of preparing your models for lighting, picking out the right LED lights, and adding light to your model to make it even better than before.
Why LEDs?
You may be asking yourself, why LED lights? Why can’t I use traditional lighting to illuminate my plastic model? Well, there’s a good reason why these long-lasting lights are a favorite among hobbyists. LED lights are the perfect lights for modeling and craft use because of their many safety features and versatility. Here are some of the reasons LED lights are preferable for hobby modeling:
- They can be dimmed or brightened as you need
- They come in all sizes and shapes (from extremely tiny to very large)
- They emit almost no heat, making them safe for plastic and wood models
- They use less energy
- They last longer than traditional lighting
- They can be controlled by a remote to flash, flicker, or fade
- They have multiple color options, including multicolor
Using LEDs is a no-brainer if you want to bring an extra sparkle to your project.

Steps to use LEDs in plastic models
People say that lights in models are just for expert modelers, but there are ways to do it that don’t take much extra work. When you’re putting together your model, you just need to incorporate the right kind of lights. You’ll realize by the end that it wasn’t too hard, and it made your model look that much more incredible.
Choose the right model
Plastic models vary in size, transparency, and hollowness. When deciding to use LED lights inside a plastic model, you have to have one that LED lights will be worth your time and effort to put in. For starters, does your plastic model have any transparent plastic, or is it all opaque?
With transparent plastic models, LED lights can make a huge difference. You can add these extras to buildings to simulate lights, spaceships for alien technology, or any model to make it glow or light up the interior. Make sure you pick a model with enough space and transparency to let the light shine through.

Pick a power source
There are several options for LED power sources–wall plugins, self-wired LEDs, and battery packs. Most good advice will steer you towards battery-powered LED lights for a beginner. Wall plugins work fine but can limit where you put your model, and self-made electronics are pretty complicated.
Battery packs have several positives: they are easy to hide, easy to switch batteries on, and usually come with a switch. You can find small battery-operated LED lights in several places and even program them with different colors. You can leave LED lights on for longer without worrying about safety issues.
Decide where you’ll put the power source
Of course, all of this commotion is for the effect of natural lighting. You want to hide the power source somewhere where you can easily access it (for battery exchanges), and it won’t be visible. Many hobby experts suggest putting the power source behind the model or at the model’s base.
If your power source is visible, you can also incorporate it into the model. This incorporation may take some creativity, but that’s not something you lack. After all, you’ve got one of the most creative hobbies already with plastic modeling. Use the battery pack as part of your model (just make sure you can access the batteries).
Get the right LEDs
First of all, you want LED lights that are battery-operated. It’s straightforward to hide a battery pack inside a base or behind a model, and it makes it way easier to move the model when it comes time. Make sure your LEDs have pre-installed resistors.
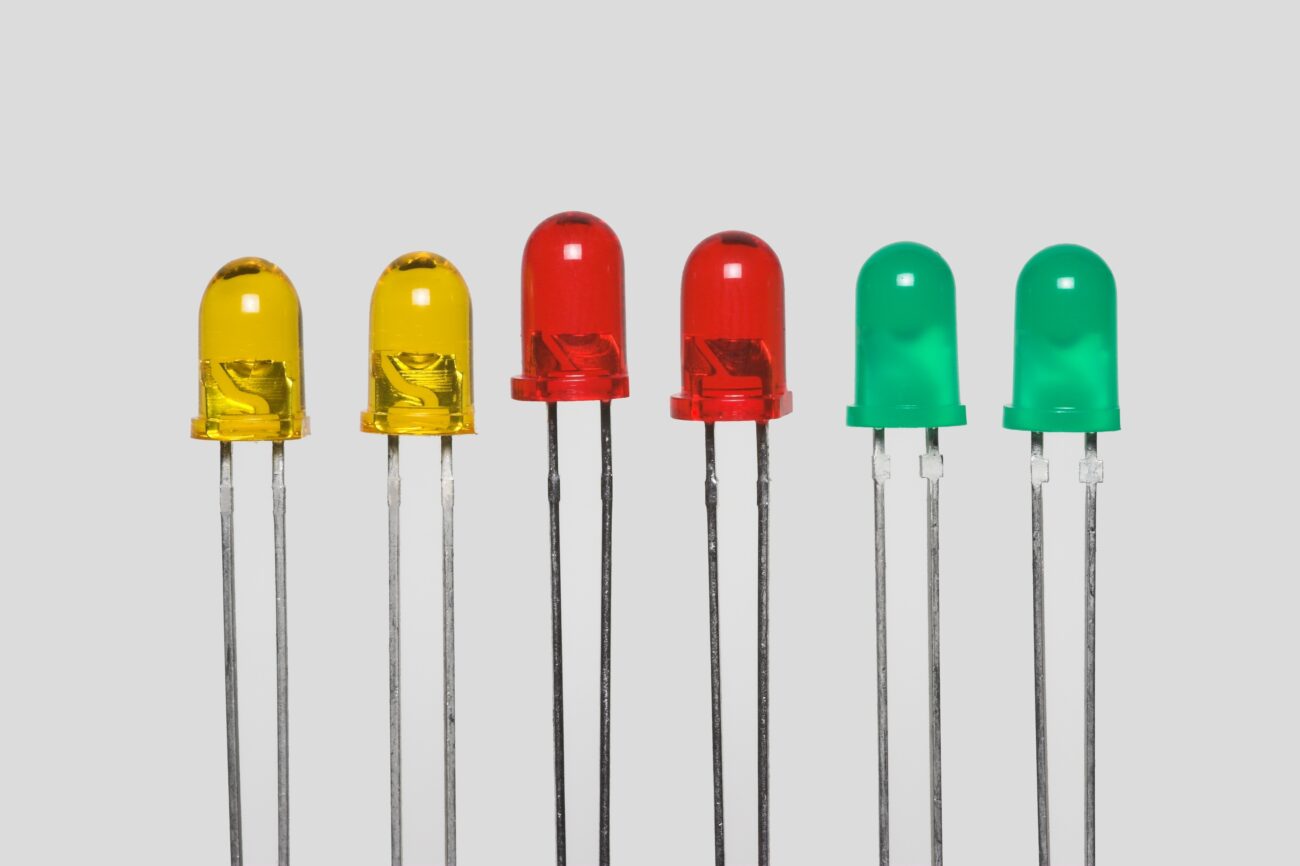
You can purchase single-color LEDs, multi-colored lights, or LED light strips that change with a remote. Depending on what you are building, any of these might work with your project. A variety of LED lights might be helpful if you’re experimenting.
For the beginning of your journey, you’re better off investing in pre-made lighting setups rather than building your own. You’ll get to more complicated modeling as you gain more experience.
Put the model and lights together
Once you’ve done all this preparatory work, you’re ready to put it all together and bring your plastic model game up a notch. As you put the model together, take note of where you want the LEDs and battery pack to end up.
During the carving and modeling process, make sure to leave holes for the LED lights and space for the wiring. You don’t want to get to the end and realize that the wiring won’t fit inside the model, meaning you can’t use the lights after all.
If it helps, you can glue the strand of LED lights in place as you go. It may make working with the plastic a little unwieldy, but you’ll be able to see how it will all fit together. Ensure that everything works by switching on the lights every time–it’s a pain to get to the end and realize that one or two lights don’t switch on.

Turn it all on and admire
Once you’ve carved and put the entire model together, switch on the lights and see your modified creation. What would have been a pretty cool plastic model is now infinitely more eye-catching. You have gone from a beginner to an expert just by gluing some lights in where they fit best.
Final Thoughts
With that, you have a complete guide to using LED lights in your plastic models. It’s not as complicated as it sounds, and you’ll be surprised at the results. Add some light to your favorite hobby and make your plastic models glow from the inside.
The post Hobby Lighting 101: A Beginner’s Guide to LED Lighting in Plastic Models appeared first on FotoLog.
from FotoLog https://ift.tt/TzQhPYy
via IFTTT


0 Comments